English
This page contains feaures that during development where removed or reworked
Weapons[ | ]
Trough the game history, many weapons changed in functionality, here are some of those changes.
Plasma Launchers[ | ]
Before the implementation of "energy", Plasma launchers used to be fired all at once, and required some time to recharge, unlike with rails, this reload was automatic. This behavior made them extremely deadly if all shots where landed, often killing low CPU bots in one barrage
Rails[ | ]
Prior to the implementation of energy, rails used some type of "ammunation" and once depleted it had to be reloaded, each gun could hold 1 shot and the "ammo reserve" was infinite. Reloading caused all remaining shots to be discarded and made the user unable to fire, but the reload was faster the more shots where left. In even earlier versions, there was no cooldown between Rail shots, allowing rail users to discharge the full "clip" at once on close targets, since doing this made the shots extremely inaccurate.
Lasers[ | ]
Aside of being renamed from SMG (sub atomic machinegun) lasers haven't changed much, a notable change however, was that lasers used to have hitscan, making them overall more accurate, this was changed later to bring in line with the other weapons, since lasers where the only weapon with hitscan.
Hallowfest[ | ]
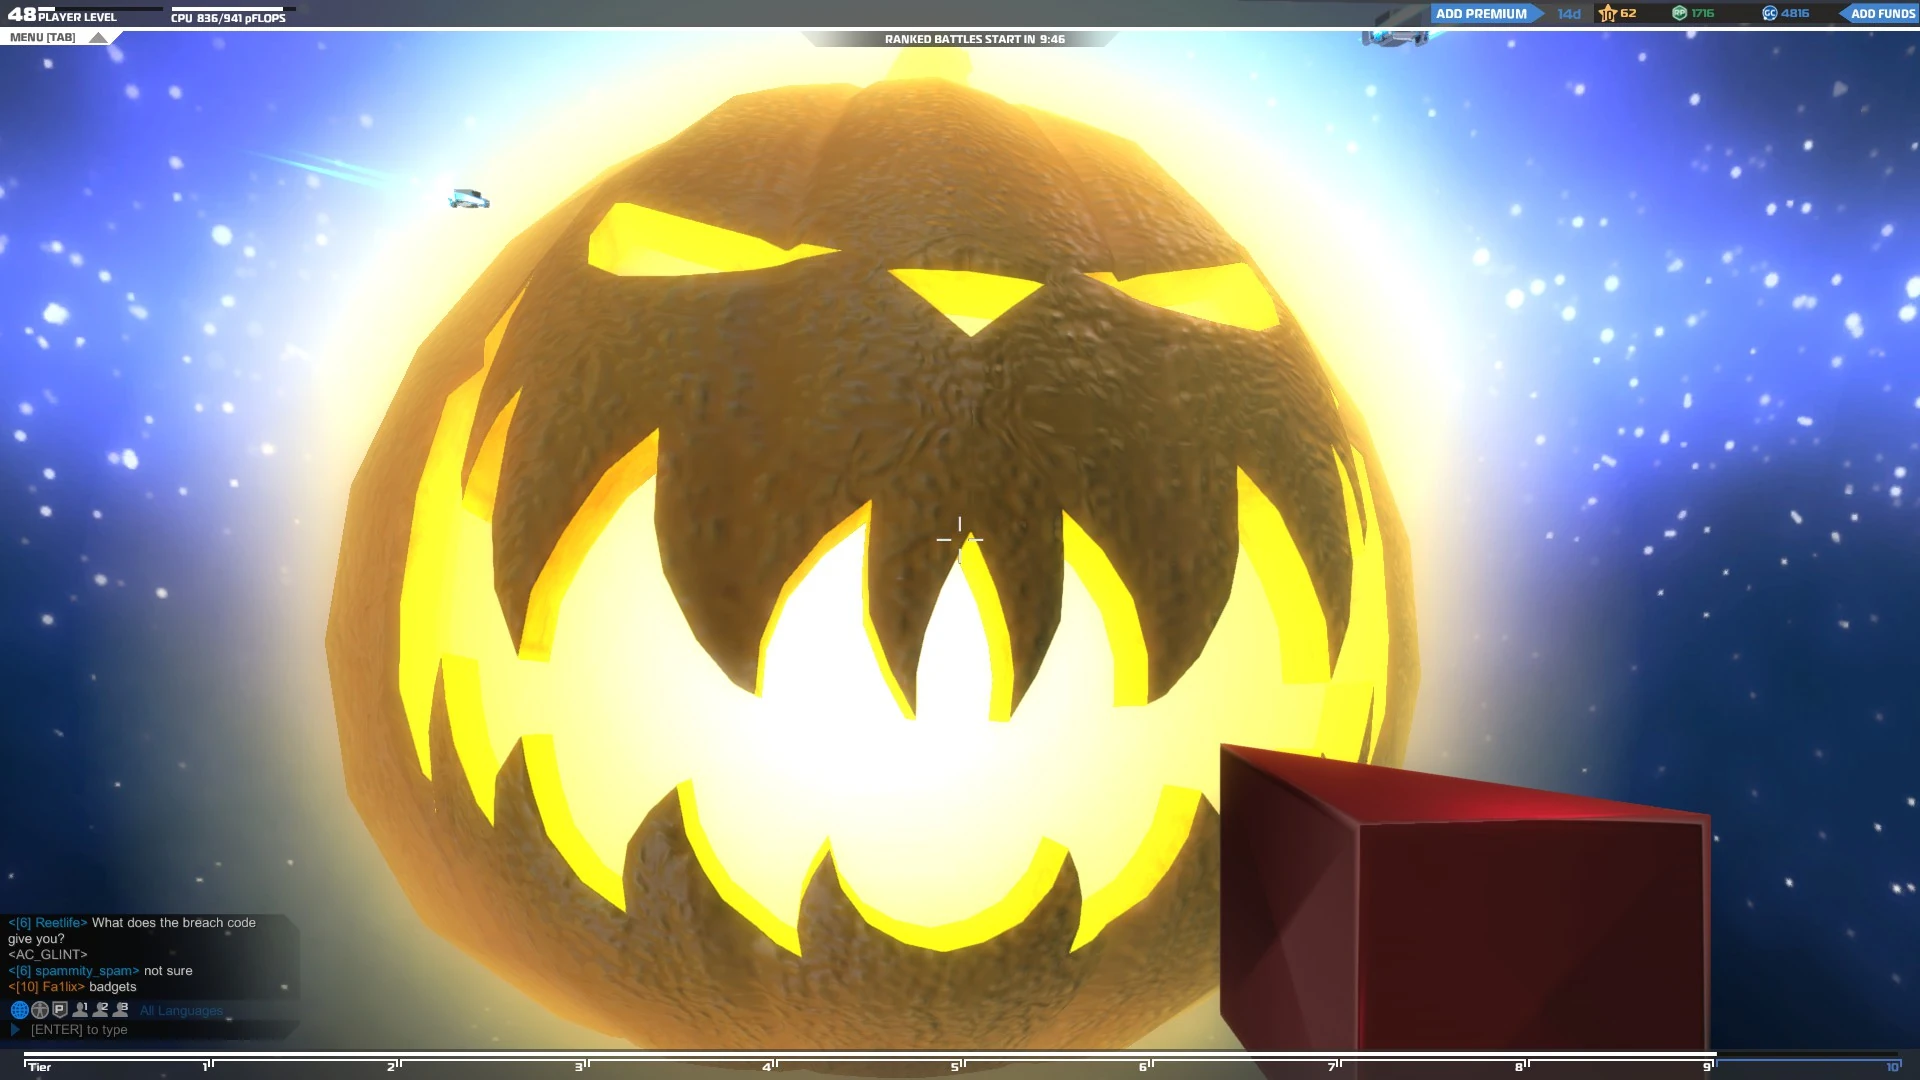
Even mars got dressed up
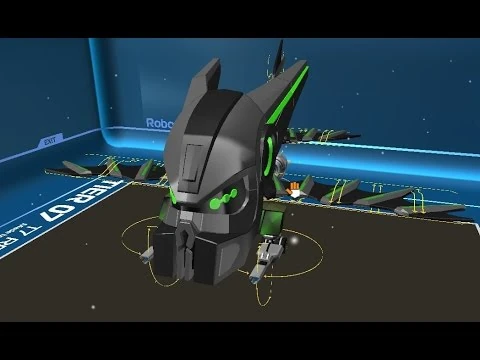
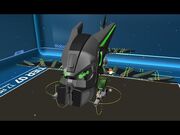
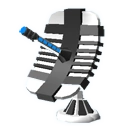
The Hallowfest is a Halloween festival that began on the 29th of October, 2014. During the Hallowfest, several new cubes became temporarily available in the Tech Tree and Cube Depot, including a large 6-piece mask. A new bot was also added to the roboshop, an interceptor that made use of the new blocks called the T7 Reaper.
Hallow Cubes[ | ]
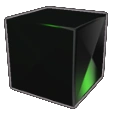
The Hallow Cubes.
The Hallow Chassis Cubes are almost like normal T10 Armored Cubes, but there are a few differences:
- Instead of black with a red sheen, the are black with a green sheen.
- Instead of costing 28 TP, they only cost 14.
- Once bought, they can be used forever. They were only available in the Tech Tree and Cube Depot during the Hallowfest.
In all other ways, they are exactly like T10 Armored Cubes.
Hallow Foil and Hallow Rudder[ | ]
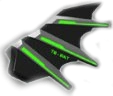
The Hallow rudder.
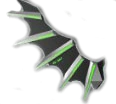
The Hallow Foil.
These Hallow cubes are almost like normal T8 Aerofoils and Rudders, but there are a few differences:
- They are bat-wing-shaped.
- They are colored black with green "fingers".
- Once bought, they can be used forever. They were only available in the Tech Tree and Cube Depot during the Hallowfest.
Hallowmask[ | ]
The Hallow Mask, along with other Hallow parts.
The Hallowmask is the very first Robocraft mask. It was first available on the T7 Reaper bot from the roboshop It's actually made up of six different cubes: Left Eyes, Right Eyes, Left Jaw, Right Jaw, Left Horn, and Right Horn. Buying all parts of it costs exactly 4300 GC. Each part has the same stats except for price, listed below:
| Image | Cosmetic Cube Name | Price |
CPU Load |
Mass (kg) |
Robot Ranking |
Armour |
Heal Rate |
Resistivity | Barrier Protection |
|---|---|---|---|---|---|---|---|---|---|
 |
|||||||||
 |
|||||||||
 |
|||||||||
 |
|||||||||
 |
|||||||||
 |
Power Booster[ | ]
|
|---|
Type |
Special |
Purpose |
Power regeneration booster |
| “ | Boosts power regeneration rate. | „ |
| ~ In-game description |
The Power Booster is a type of special cube that permanently increases your robot's power bar regeneration speed. It reduces the time to regenerate full power from 10 seconds to 8 seconds. Multiple Power Boosters do not reduce it further.
This cube has been replaced by the Weapon Energy Module.
Statistics[ | ]
| 48,720 | 290 | 200.0 | 145,000 (36,250) |
Trivia[ | ]
- The Power Booster has replaced the Mega Module, which is now obsolete.
Battle Arena[ | ]
Battle Arena was replaced by Normal Mode as a part of the Beta update on the 2nd of March, 2017.
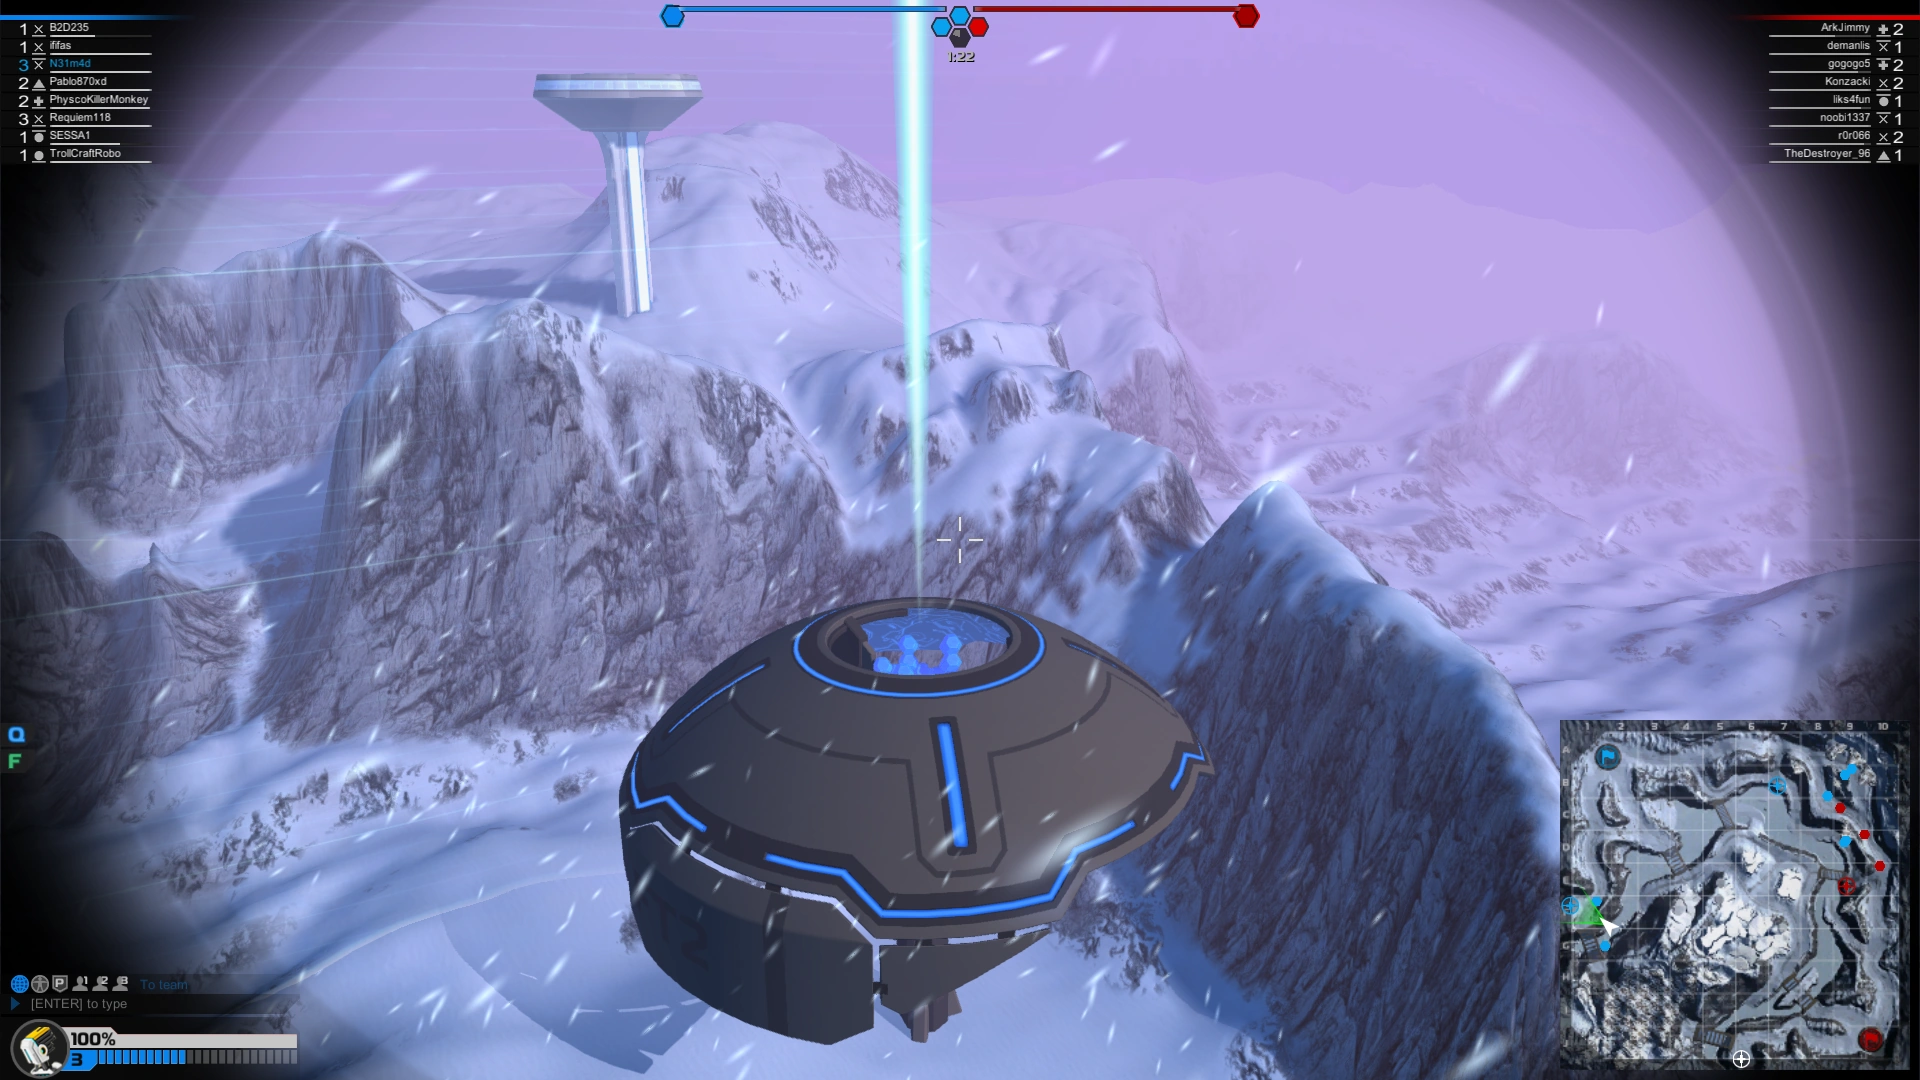
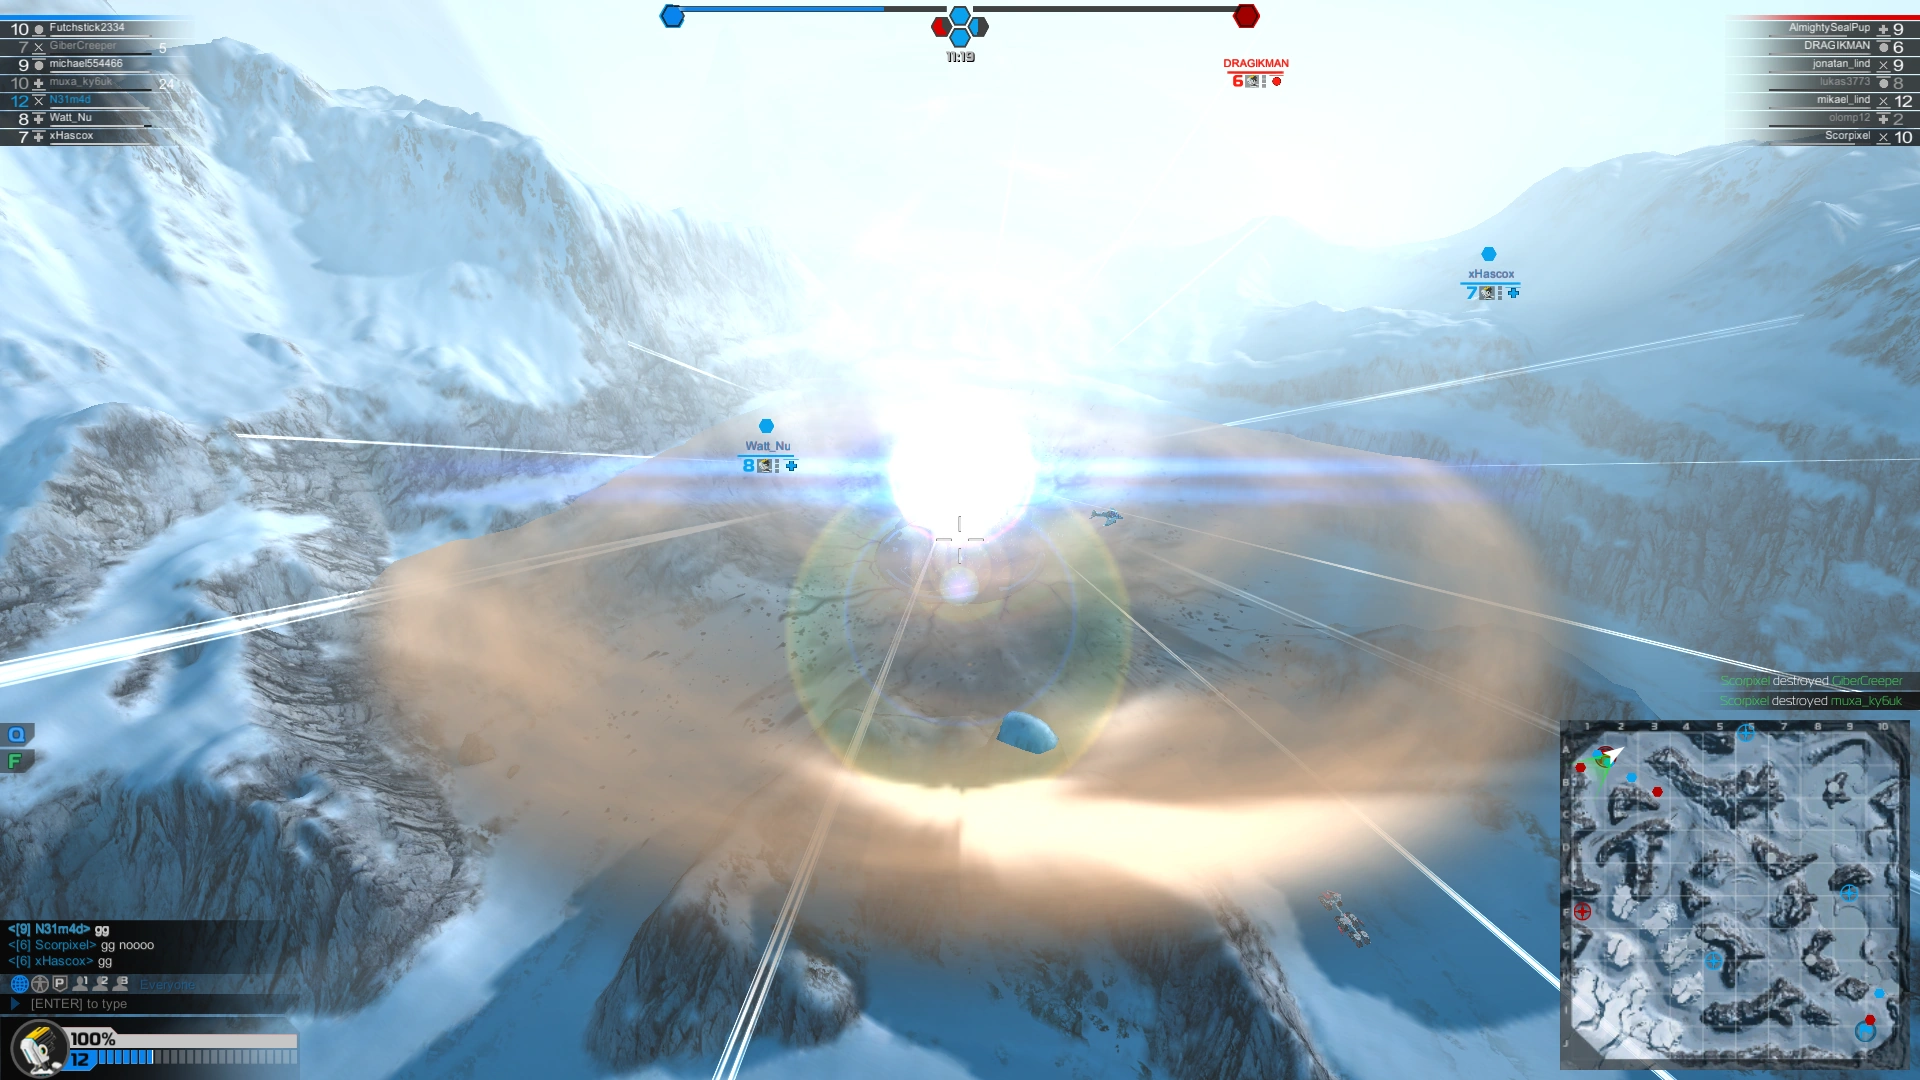
Battle Arena is one of the game modes in Robocraft. In this game mode, teams battle to destroy the crystals surrounding the enemy Protonium reactor while defending their own reactor from destruction. New game elements added to the support the mechanics of this game mode include the Protonium reactor, the fusion towers, the fusion shield, overclocking and respawning.

Actual battle arena HUD
Both teams in a Battle Arena match have one Protonium reactor located at the center of their base with crystals matching their team's color. Three fusion towers are located at strategic points on the map and begin as neutral towers (identified by their purple crystals). Attacking a fusion tower allows a team to capture it, which resets the fusion tower to full health and changes the color of the crystals to match the color of the team that captured it.
Captured towers provide the teams that own them with certain boosts based on the number of towers held. The first tower activates the team's own fusion shield. The second tower enables the Clock Cycle Booster, which passively gives the members of the capturing team clock cycles over time and provides a multiplier for clock cycles earned by damaging or killing enemy players, towers or reactor crystals. Capturing all three towers deactivates the enemy fusion shield. Capturing a tower also resets the timer for allied players waiting to respawn, allowing them to return to the battle immediately after the tower is captured.
Battle Arena matches typically last 10 to 20 minutes. At the 20-minute mark, the match goes into sudden death. This causes the fusion shields of both teams to deactivate, turning the game into a race to destroy the opposing team's reactor.
Fusion Tower[ | ]
 A friendly tower, note the blue pulse of light (old)
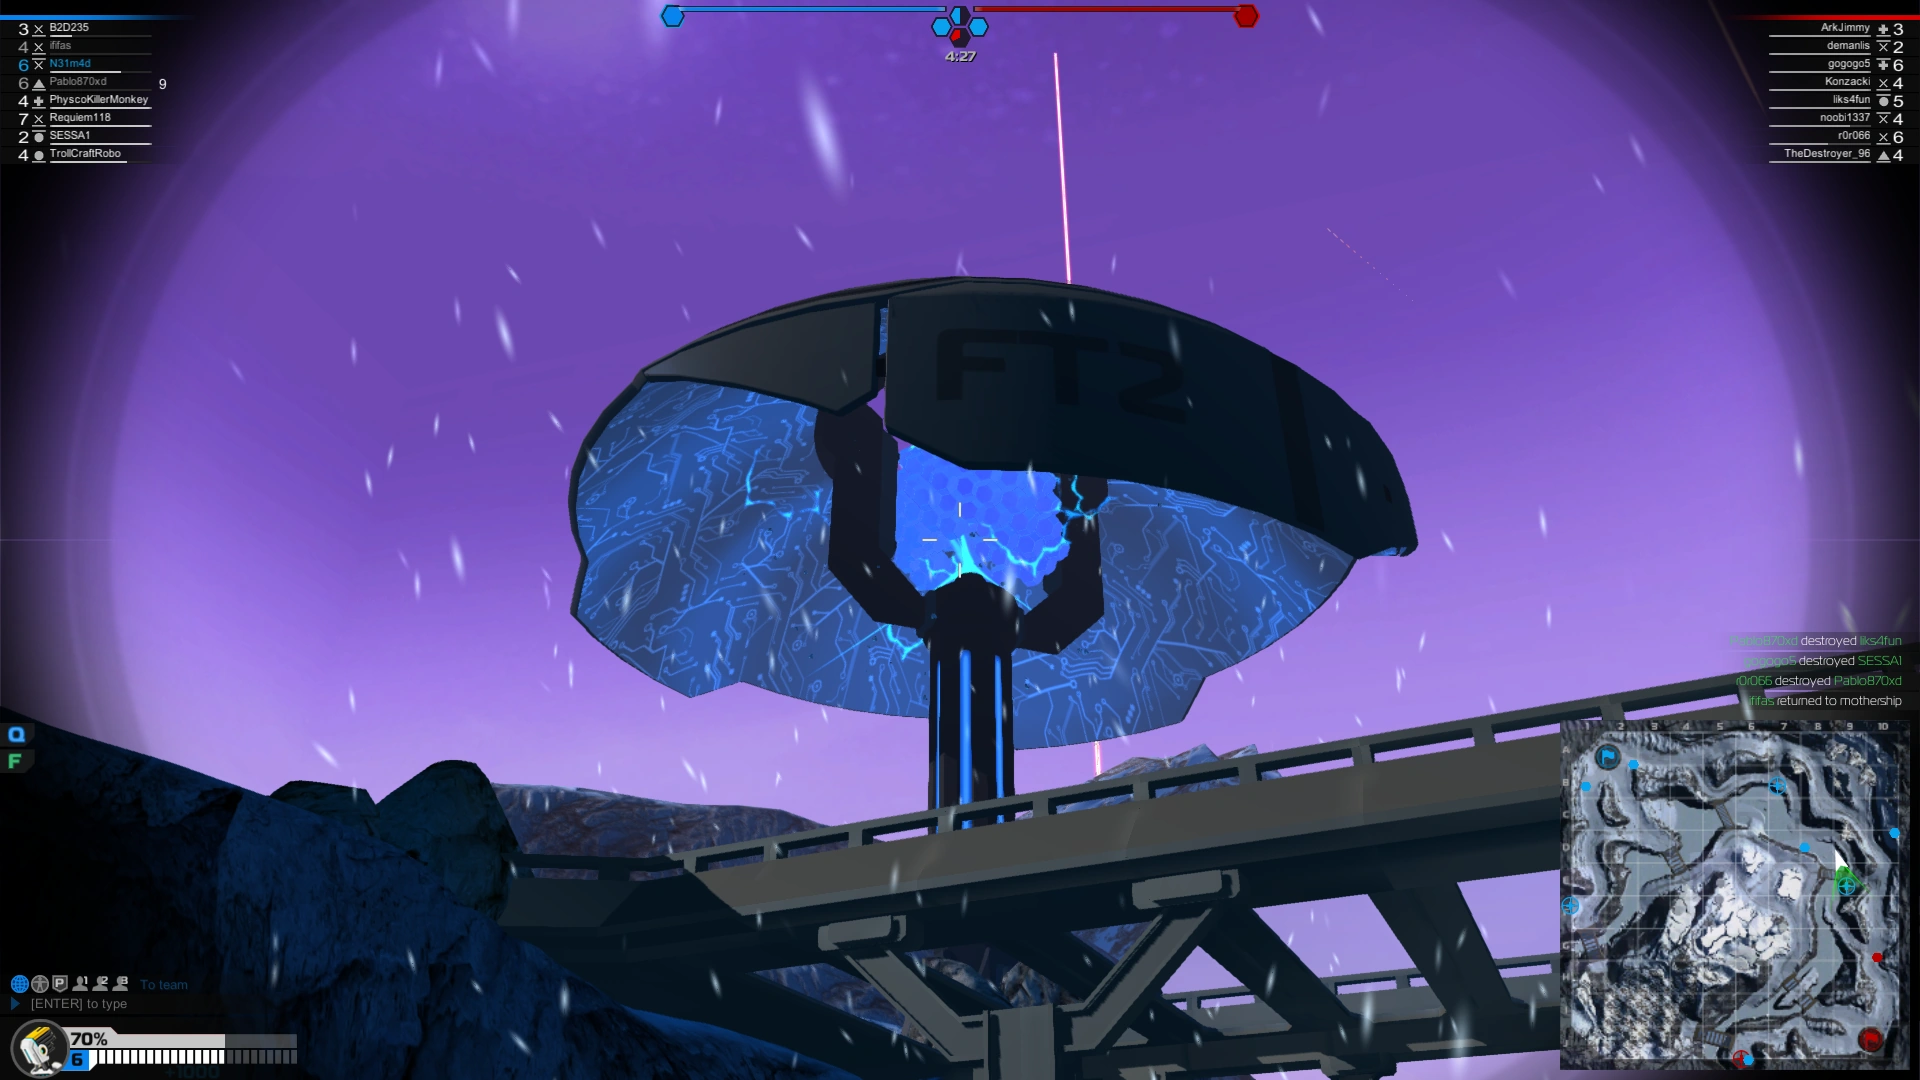 A friendly tower immediately after capture (old)
 An enemy tower being captured (old)
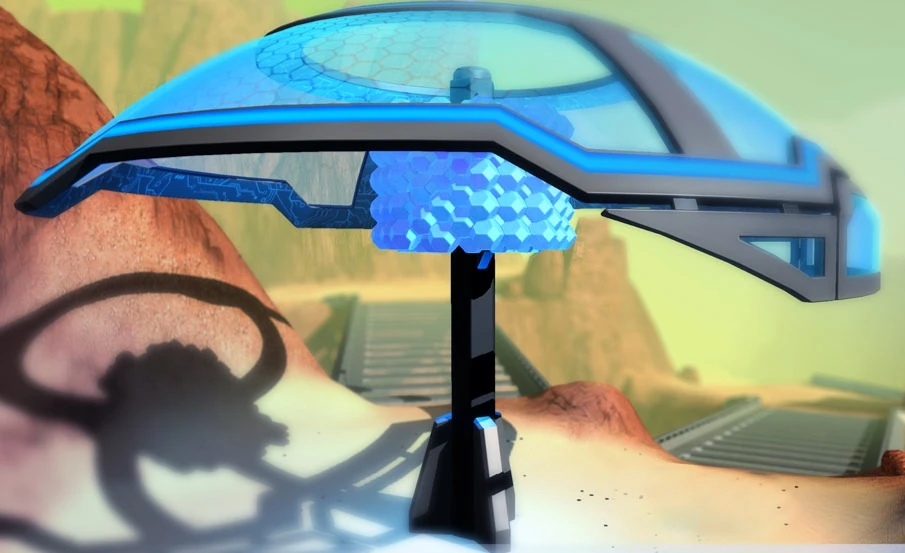 The new fusion tower
Fusion towers are an important part of the Battle Arena game mode. In the majority of matches, capturing and defending towers represents the bulk of the gameplay that occurs in a Battle Arena match, and a team's ability to capture and hold towers often provides a reliable indicator of its potential to win or lose the match.
Three fusion towers spawn on each map, each containing a cluster of Protonium crystals. These towers are designated "Top," "Middle" and "Bottom," based on their vertical position on the overhead battle map. (Before the Team Orders update, four towers were used, and these occupied the "Top," "Bottom," "Left" and "Right" positions.)
Destroying all the crystals on a fusion tower captures the tower for the team that destroys the last crystal. This resets the fusion tower to full health and changes the color of its crystals to match the color of the team that captured it. As with robot cubes, fusion towers use connection points to hold the Protonium crystals in place. Destroying just the crystals attached to these connection points speeds up the capture process, as unattached crystals fall off and are automatically destroyed. (Note that weapons with higher firerate are in some cases best at destroying crystals on the connection points.)
Capturing a fusion tower provides a two instant effects: First, it gives every player on the capturing team an overclock bonus at the moment of capture. Second, it resets the respawn timer for players who are waiting to respawn, allowing them to immediately reenter the battle.
In addition to these instant effects, other persistent bonuses are also applied to the capturing team. The type of bonus provided depends on the number of fusion towers the team holds:
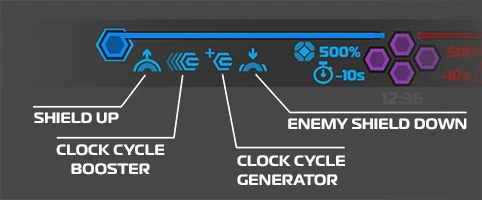
The portion of the user interface used before the Team Orders update showing Battle Arena match details. The top bar (beside the hexagon) depicts the health of the Protonium reactor. The four purple hexagons represent the four fusion towers, with the match timer directly beneath them. The Protonivity Escalator stands at 500 percent, and the Respawn Escalator shows a reduction to the team's respawn of 10 seconds. The labeled areas show the persistent tower boosts.
Fusion Shield[ | ]
Capturing and holding a single fusion tower provides the team with a fusion shield to protect their Protonium reactor. The fusion shield completely blocks all attacks targeted at it, preventing attacks made from beyond the shield from damaging the Protonium reactor and any bots within its dome. The fusion shield also slowly restores damaged bots inside the dome to full health.
Note that you are NOT invincible inside the fusion shield. Enemies inside the glowing dome with you can still land shots, and splash damage also seems to pass through some of the wall. Its regeneration abilities are fairly slow and should not be relied on completely, mainly as a retreat option to help you return to the fight quicker.
Clock Cycle Booster[ | ]
Capturing and holding two fusion towers enables the Clock Cycle Booster for members of the capturing team, which provides both a passive and active overclocking bonus. The passive bonus gives each player in the capturing team a small amount of clock cycles every second for as long as they are able to hold the two towers. On the other hand, the active bonus applies as a multiplier that increases the amount of clock cycles a player receives for damaging or destroying enemy bots, towers and reactor crystals.
Prior to the Team Orders update, the second tower only provided a overclocking multiplier, which was also called the Clock Cycle Booster. The third tower enabled the passive bonus, which was then called the Clock Cycle Generator. The Team Orders update combined both these effects into the current Clock Cycle Booster.
Enemy Shield Deactivation[ | ]
Capturing and holding all three fusion towers deactivates the enemy fusion shield, negating the enemy's ability to defend its base from long-range attacks or to heal passively.
Protonivity Escalator[ | ]
Capturing fusion towers increases a team's protonivity. This increases the amount of damage that the team's weapons do against crystals based on the number of towers held by the team.
The Protonivity Escalator is also affected by the time in the match. This makes protonivity gains from holding fusion towers small at the start of the match compared to the extremely large gains provided at 25 minutes. Before the Team Orders update, capturing four towers at the beginning of a battle resulted in a 110 percent increase to damage to crystals. At the 20-minute mark, four towers provided 350 percent of extra damage.
Respawn Escalator[ | ]
The number of towers held by a team also improves the team's respawn times. As with the Protonivity Escalator, the magnitude of the reduction in spawn times increases as the match continues. The effect of the Respawn Escalator is tiny early into a game and larger during the late-game stages.
Protonium Reactor[ | ]
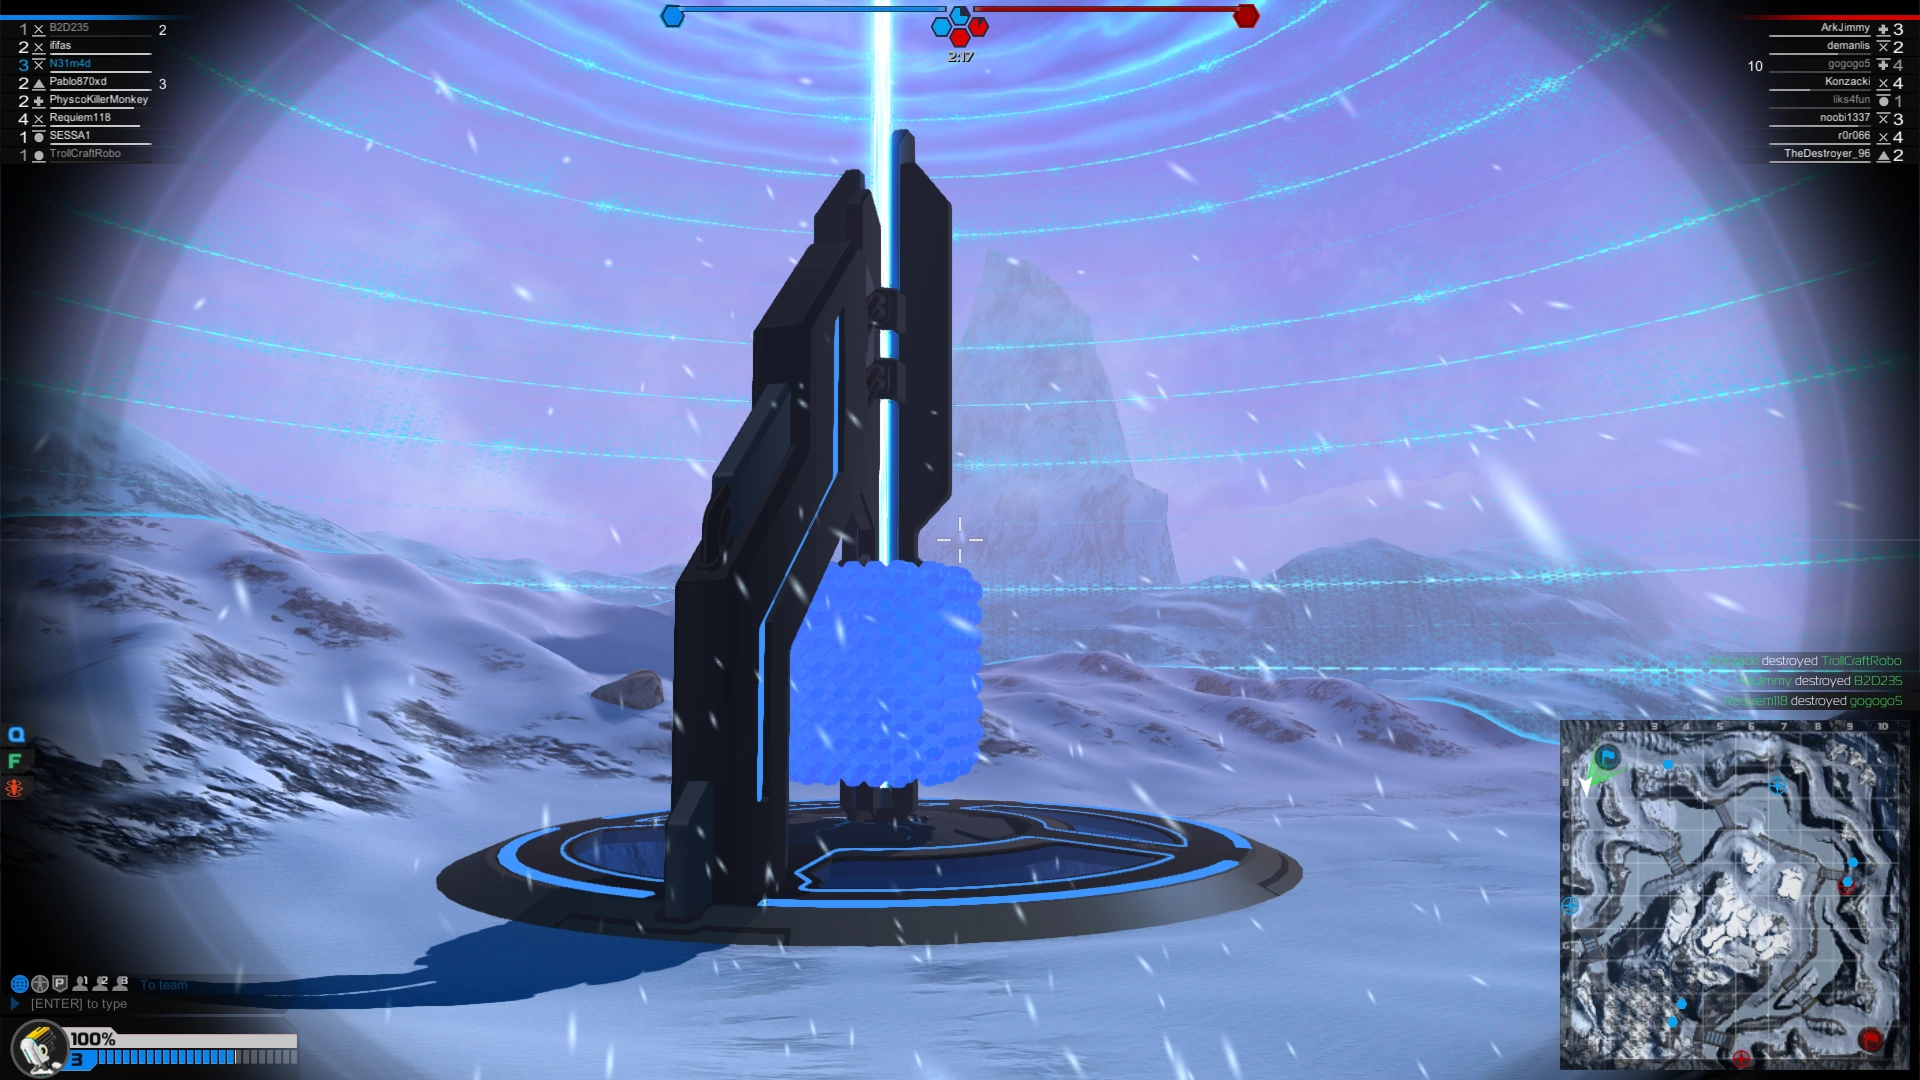
The Protonium reactor occurs as a structure in the center of a team's base that is surrounded by Protonium crystals. The crystals appear in the same color as the team it belongs to and are attached to connection points similar to those found on fusion towers. Each Protonium reactor has a total of 32 contact points, which are distributed symmetrically around the cylinder at eight contact points per side.
These connection points are much better enclosed than the fusion towers, having three more layers of protonium crystals in front of them. Attacking the connection points directly from above or below is much harder, so bots are forced to chew through all the armoring. With this in mind, you should not fully attack the reactor until you are at least above overclock 10, accompanied by at least two more teammates and making sure at least 3 members of the enemy team are still waiting to respawn.
The objective of the Battle Arena game mode is to destroy all the crystals surrounding the enemy base and, ultimately, the enemy base itself. As more crystals are destroyed the base develops cracks around it until it finally explodes when all the crystals are destroyed, ending the match.
Fusion Shield[ | ]
The fusion shield protects the base, the Protonium reactor and any bots inside it by blocking all enemy attacks targeted at it from the outside. It also provides no obstruction to allied projectiles and slowly heals allied bots that are inside the shield. Allied and enemy bots alike can enter the shield at will. Enemy bots that make it inside the shield can freely fire at anything within the shield.
The rate at which the fusion shield heals allied bots is relatively slow, making it unreliable when defending against larger groups of enemies. Allied bots that take enough damage while inside the shield can still be destroyed by enemy bots firing at it from within the shield.
The shield automatically activates when a team captures its first fusion tower and continues to stay up as long as the team holds at least one tower. The shield is automatically disabled when the other team captures all the fusion towers or when sudden death activates 20 minutes into the match.
While inside their team's fusion shield, players also gain four times the overclocking bonus from damaging enemy bots.[citation needed]
Strategies[ | ]
The following strategies apply to the Battle Arena game mode:
Negate long respawn timers[ | ]
Fusion towers are key to the Battle Arena game mode. Teams should not allow the enemy possess all of them at any point in time, as this makes their reactor extremely vulnerable to attack. In late game situations, when several allied players are dead, capturing a fusion tower should take priority, as this allows dead teammates to avoid having to wait through their 90-second respawn timers.
Pocket medic[ | ]
By sticking with an SMG gunbed, medics can constantly heal them and allow them to tank enemies. A good SMG and medic pair can lay waste to half the enemy team if it isn't well organized. Medics should hide behind the gunbed they pair with so as not to become the primary target and take too much damage.
Counter: Players who come across an SMG and medic pair should focus fire on the medic until it is destroyed. This reduces the ability of the SMG to tank, leading to the gunbed's destruction or its hasty retreat.
Tandem medics[ | ]
This is a rare strategy developed in what was then Classic mode where two or more medics work together to invade a base. This strategy has the added affect in Battle Arena of being one way to invade a shielded base, and keep up with the healing rate of the opposing team's defenders. Tandem medics can heal each other within the enemy shield while continuously causing damage to the Protonium Reactor and generally wreak havoc while their teammates focus on capturing fusion towers or defense.
Three or more medics working together create an extremely deadly and powerful team. However, one of the medics will NOT be healing another medic because their nanos will be deactivated to attack the reactor. Target one of the other medics to reduce the healing rate of the damaging enemy.
Counter: Players rarely see two or more medics in a Battle Area game. However, if it does happen and the enemy medics decide to use this strategy, remember that their allies are at an disadvantage by receiving no healing. Defend by attacking the unsupported enemy bots while an ally medic heals the front lines.
Rushing columns[ | ]
This strategy occurs when the majority of a team bunches up and moves through the same part of the map. Solo enemies do not stand a chance as the combined offensive rushes through. This strategy can allow teams to quickly capture enemy fusion towers as well as secure victory within the first five minutes of the battle when going against disorganized enemy teams.
Having a mixture of robots in a column makes it very tricky to fight against. Aircraft can be used to flank the enemy formation while they are frontally assaulted by SMG gunbeds and medics, allowing the column to split the enemy's SMGs between two different targets and gain the upper hand. Having at least one medic in the column can make it almost unstoppable if the medic can manage to keep as many bots in the column alive.
Counter: Teams that notice the enemy team moving in a large group should act quickly to corner the column at a location where it cannot use its superior firepower to its advantage or where the column's ability to move tactically is compromised.
Rushing solo[ | ]
This common strategy involves one player rushing into the opposite base aimed at weakening the opponent's Protonium reactor. There are two situations in which this can happen: at the start of the battle or when the opponents are distracted or respawning. Rushing at the start is often considered useless, and the lone attacker usually ends up destroyed, which inadvertently provides clock cycles to members of the opposing team. Players who can take advantage of the opportunity to attack the enemy's reactor while they are distracted can, however, find themselves in a good position to deal a large amount of damage to the opponent's reactor.
Counter: Teams alerted to the possibility of a solo rush should catch and single out the rushing attacker as quickly as possible.
Invading[ | ]

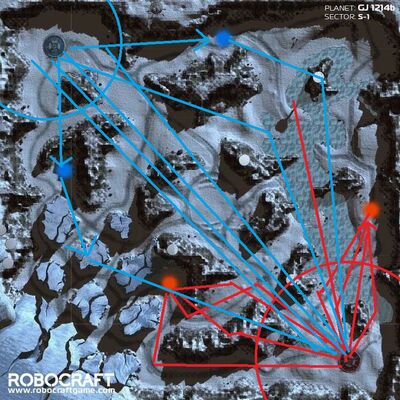
Invasion battle plan.
Invading involves sending only a few bots to capture the nearer fusion towers while the majority of the team proceeds to attack the tower closest to the enemy base. This strategy works especially well when the enemy is relatively amateur and doesn't expect it. It puts pressure on the enemy team during the first few minutes of the match, giving the executing team an advantage in the number of the towers they hold, as well as a few extra overclocking levels.
Additionally, if a team can catch the enemy off guard while they are shooting at the tower, it can destroy the enemy's bots and capture the already damaged tower. The early tower advantage allows the allied team to capture all three towers and attack the enemy reactor within the first few minutes while the opposing team is busy capturing the other towers. As long as nobody gets killed, enemy players should find it hard to return to their own base to defend.
Counter: The effectiveness of this strategy is diminished when smarter teams are involved. A team that encounters this tactic can execute a backdoor to force the enemy team to abandon its invasion.
Stealing towers[ | ]
Because of the last-shot mechanic that applies to capturing fusion towers, astute players can wait patiently at the start of the battle to "steal" neutral towers that have been sufficiently weakened by the enemy. This strategy is best suited to aircraft, which have the ability to quickly close the distance before the enemy notices their presence and realizes their intention. Players can use the splash damage caused by plasma launchers to their advantage, as it improves the chances of scoring the final hit.
Stealing neutral towers can force the game into a quick finish scenario, as the enemy team is subject to a number of potential loses: First, the enemy team loses the chance to gain crucial early game clock cycles, resulting in delayed overclocking. Second, it forces the enemy team to spend twice as much time capturing their first tower, opening them up to the possibility of a rush push by the allied team to completely deny them their first tower. Third, in case the allied team is able to quickly capture its first tower, it exposes the enemy team to further stunting of their ability to overclock as the allied team benefits from both the quick double dose of clock cycles and the early Clock Cycle Booster.
Teams that stay alert to the possibility of a steal in their favor can extend its effect by quickly responding to the enemy's sudden disadvantage. A team prepared to act immediately after a steal can, for example, set up to blitzkrieg the enemy team trying to capture their first tower as soon as the steal is completed. The enemy team, stunned and desperate to capture their first tower may completely miss the fact that they are being rushed until it is too late. While the enemy team attempts to recuperate from the effects of the blitzkrieg, the allied team can then focus on capturing the third tower, instantly respawning any losses that occurred during the blitz and securing a positional advantage for an early finish.
Counter: As a preventative measure, teams should always keep eyes out for enemy bots even while they capture towers. Posting SMGs as sentries while other players do the capping can help dissuade plasma bombers from approaching the tower being captured. Splitting the team between two towers at the start of the battle can also help to minimize loses in the event that a steal occurs.
In the event of a steal, the disadvantaged team must stay calm and prepare to reposition assets if necessary. Sending some teammates to begin capping a different tower can help to mitigate potential loses. The group capturing the second tower should remain aware of the possibility that the enemy might also try to steal that second tower from them.
Tower rushing[ | ]
Tower rushing involves getting the enemy's fusion towers to low HP (a few crystals left) and then rushing to capture them in quick succession. This can be extremely effective if one or two robots do the capturing, one or two robots defend, and the rest of the team rushes the enemy base when the shield goes down, killing any opponents encountered and severely damaging the Protonium reactor. This strategy requires effective communication in order to pull off, but its results can be devastating if the strategy is executed well.
Counter: Teams should watch for the enemy leaving otherwise easy-to-capture towers uncontested. If the enemy team does start leaving weak towers alone, shore up defenses at the closest tower to halt or quickly reverse the tower capture. Defending the closest tower allows quick access to the base in case anything goes wrong and makes the process of capturing the tower in a rush much harder.
Backdooring[ | ]
Backdooring is strategy performed when one or two players attack the enemy reactor while the rest of the team keeps the enemy's bots occupied. During an attack on the base by an enemy team, sending some teammates to backdoor the enemy base can help to exploit the enemy's lack of defense. Should the enemy team be unable to break the defense put in place against it, the allied team can mount a counter to easily end the game – if the backdooring units have not already done this. Deciding when to perform a backdoor maneuver can be a tricky affair, as the defending team losses out on the crucial DpS that could have been provided by the players backdooring the enemy base. When executed perfectly, however, this strategy is often a game ending move, especially when the enemy reactor is low on crystals. Otherwise, it is an effective strategy for greatly reducing the health of the enemy reactor.
Counter: An active fusion shield provides a sufficient healing rate to support one defender against two similarly armored attackers. This mechanic makes it worthwhile to leave one player behind to defend the base. Otherwise, spotting as often possible can provide a reliable overview of the enemy's movements and reveal players moving to backdoor the base.
General Key Events[ | ]
These events take place in most battles:
| Time | Event |
|---|---|
| 0:00 | Start of the battle |
| 0:20 | Average time to capture the first tower |
| 1:30 | Most players engage in big solo fights |
| 8:00 | Pushing starts to happen more often |
| 10:00 | Team fights become more common |
| 13:00 | Average completion time for most games |
| 20:00 | Both teams' fusion shields deactivate |
NB:The shield will deactivate regardless of there is a captured fusion tower.
Communication[ | ]
Communication is key to success in Battle Arena because it can help teams pull off complex strategies that would otherwise be impossible. In response to this need, Freejam added Curse voice robocomms to allow players to communicate with each other, though its implementation hasn't been a huge success. To account for the lack of a suitable communications system, some players have attempted to make their own systems of communication, one example of which involves using Tactical Communications short hand for Robocraft to enhance and speed up the transmission of information through in-game chat. However, these systems have seen low adoption due to their complex nature and their lack of exposure to the average player.
Radar system[ | ]
This parts where removed with the inclusion of the Window Maker Module, their role was to provide and prevent detection.
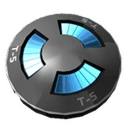
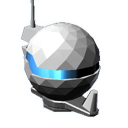
Radar[ | ]
The Enemy Radar is a special cube, it is a simple, but extremely useful tool, particularly when playing in a defensive role. The ability to pin-point the location of approaching targets is invaluable, as is the ability to avoid or even hunt them on maps with more maze-like designs.
The Enemy Radar is one of the most useful tools available to you, as information is key in combat; radars pinpoint nearby enemy robots, displaying their name and health, though not their type. Higher-tier radars are tougher and have a larger detection range, and are more difficult to jam. As with most cubes, the radar unit does not need to be exposed to function, and can be fully enclosed by cubes or electroplates if desired - though their size can make this impractical. In addition to pinpointing nearby enemies, radars will also relay data to the Radar Receivers of nearby allies, allowing them access to the same information without need for manually spotting targets. Only one radar is required, but each additional radar improves a bot's ability to overcome Radar Jammers.
Radars are animated and will rotate when idle, but if enemies are within the detection radius then the radar will point towards the nearest enemy.
Additionally, radars will make various sounds to alert the player of things it has detected. |- |
Pricing[ | ]
 |
Closesight Costs: 400 |
This is the least powerful type of radar. |
 |
Farsight Costs: 1,500 |
This is the second most powerful type of radar. |
 |
Overwatch Costs: 5,000 |
This is the most powerful type of radar. |
Statistics[ | ]
| Image | Name | Health | CPU Load | Mass (kg) | Range (m) | Radar Power (GW) |
|---|---|---|---|---|---|---|
 |
Closesight | 13,298 | 10 | 7.6 | 550 | 0.6 |
 |
Farsight | 19,947 | 15 | 12.6 | 575 | 3 |
 |
Overwatch | 26,595 | 20 | 17.6 | 600 | 3.2 |
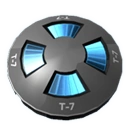
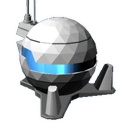
Jammer[ | ]
The Radar Jammer allows the player to prevent their robot being detected by Enemy Radar. Jammers do not make robots invisible, and can still be spotted visually.
When the strength of the enemies radar exceeds the strength of your jammers, it will cause your robot to disappear from their radar at random intervals, but you will mostly be visible on their radar. If the combined strength of jammers on your robot exceed the combined strength of radar on the enemy, then your robot will remain undetected.
There are four tiers of Radar Jammers, each tier adding higher Jamming capabilities. Each tier of radar jammer increases in size and health. Thanks to their flat shape, jammers can fit under the hitbox of weapons placed on the same level of the robot. The disc shape and health value of jammers can be utilized as shielding on stealth craft and to reduce cube count and CPU. However this type of shield, due to the low Resistivity and Barrier Protection, is ineffective. But then again, who need radar invisibility when already being spotted and shot at?
Like the enemy radar, the Jammer has an animation. It initially remains still and silent, however when it's in range of an enemy's radar it generates a 'honk' sound and begins rotating. It will continue rotating until you're no longer in enemy radar range.
| Action | Sound |
|---|---|
| Jammer Detect |
The code suggests that the max number of radar jammers that can be used is 14. (You can place more, but they do not help.)
Pricing[ | ]
|
Disperser Costs: 960 |
Blocks the player from showing up on enemy radars. Their effect is stack-able. Stacking jammers will block enemy radars better. This is the least powerful jammer. |

|
Scrambler Costs: 1,040 |
Blocks the player from showing up on enemy minimaps. Their effect is stack-able. Stacking jammers will block enemy radars better. This is the second least powerful jammer. |

|
Obstructor Costs: 2,800 |
Blocks the player from showing up on enemy minimaps. Their effect is stack-able. Stacking jammers will block enemy radars better. This is the second most powerful type of jammer. |

|
Blocker Costs: 7,500 |
Blocks the player from showing up on enemy minimaps. Their effect is stack-able. Stacking jammers will block enemy radars better. This is the most powerful type of jammer. |

Tips and Tricks[ | ]
A Radar Jammer can be the most useful tool available to a robot. If you can not be seen on radar, it opens up a vast array of strategic options. One of the main applications of jammers is to hide a robot from enemy detection and ambush the enemy using hit and run tactics to deliver unexpected damage without risking damage in return. Other uses involve the use of stealth to flank enemies, and sneakily capture points, fusion towers or the protonium reactor.
Statistics[ | ]
| Image | Name | Health | CPU Load | Mass (kg) | Range (m) | Radar Power (GW) |
|---|---|---|---|---|---|---|
 |
Disperser | 13,298 | 10 | 7.6 | 550 | 0.6 |
 |
Scrambler | 19,947 | 15 | 12.6 | 575 | 3 |
 |
Obstructor | 26,595 | 20 | 17.6 | 600 | 3.2 |
 |
Blocker | 26,595 | 20 | 17.6 | 600 | 3.2 |
Trivia[ | ]
- The Radar jammer model is based off of the RP Collector, and uses the exact same model, just with a different texture.
- There are used to be a Tier 1 Radar Jammer, however it's removed from the game.
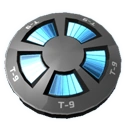
Receiver[ | ]
A radar receiver is a useful piece of equipment, allowing any enemies detected by your teammate be seen on your robot's minimap. It's notable that a radar receiver needs to stay within range of the team member who has detected the enemy unit. Radar Receivers can rebroadcast enemy positions, so that if there is an unbroken overlap between teammates' receiver ranges, they will have all detected enemy units on their radar and Minimap.
Each version of radar receiver has an increased footprint and size. They do not need to be open to the atmosphere, but they are difficult to mount on the inside of a craft due to their large size.
Having multiple radar receivers does not improve their functionality, only provides redundancy, unless a robot is very very long or wide where having two receivers placed far apart could increase the reception area.
| Linked sound |
|---|
Pricing[ | ]
|
Listener Costs: 1,040 |
This is the least powerful radar receiver. |

|
Tracker Costs: 2,800 |
This is the second most powerful radar receiver. |

|
Diviner Costs: 7,500 |
This is the most powerful receiver. |

Tips and Tricks[ | ]
As the radar receiver's effectiveness is determined on how many of your teammates use radars, it cannot be guaranteed to function as you want it to. To compensate, you may want to add a radar to your bot to have a more consistent detection range, or to frequently spot enemies, or even travel in a platoon with allies who you know have radars.
Statistics[ | ]
| Image | Name | Health | CPU Load | Mass (kg) | Range (m) |
|---|---|---|---|---|---|
 |
Listener | 34,574 | 26 | 12.6 | 2,400 |
 |
Tracker | 37,234 | 28 | 15.1 | 2,700 |
 |
Diviner | 39,893 | 30 | 17.6 | 3000 |
Trivia[ | ]
- There were 2 smaller versions that were tier 1 and tier 3. In the statistics, they are given the name Spreader and Ringer.
- On the bloom and strut update, the rotating light became brighter. This unfortunately means you cant easily tell when your connected, you have to wait to hear the sound.